One of the best things about pancakes is that there are so many different ways to make them!
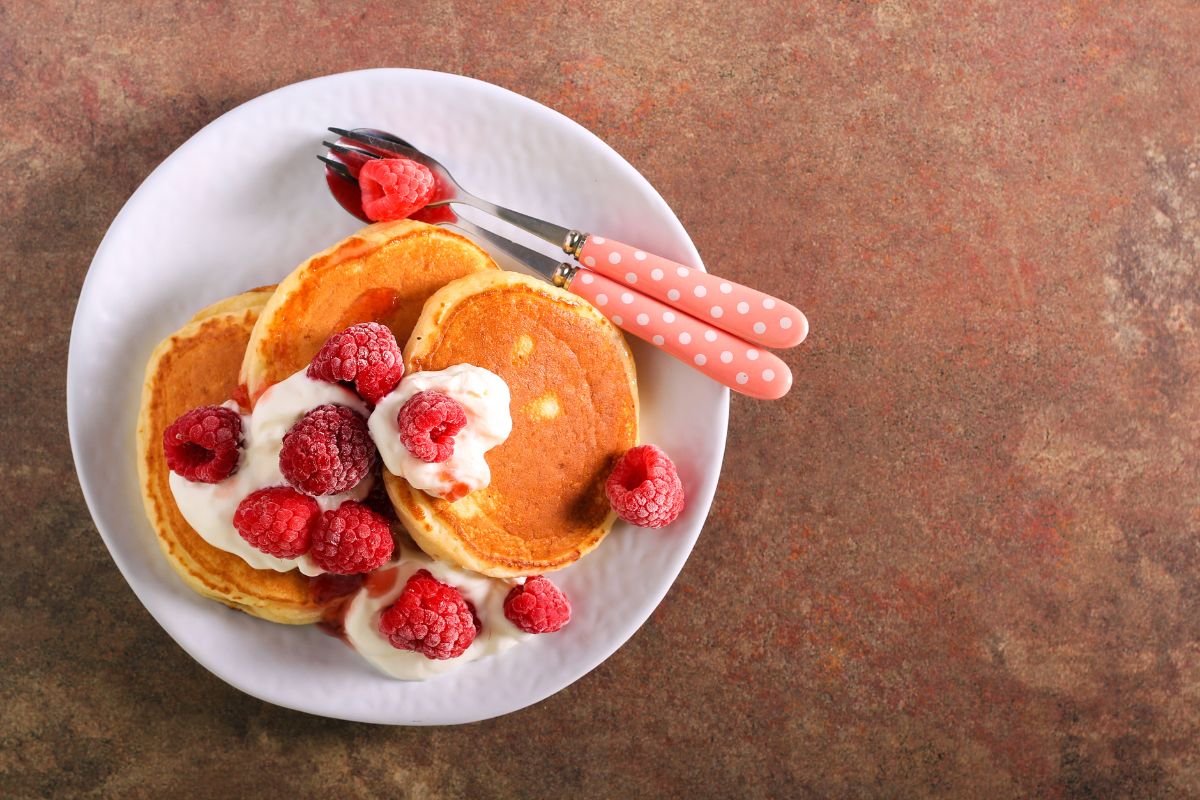
From gluten-free pancakes to vegan pancakes, and pancakes flavored with almost anything you can think of, the possibilities are never-ending.
However, one of our favorite ways to make pancakes is with sour cream. If you’ve never tried sour cream pancakes before, take this as a sign, because they’re extra delicious and so easy to make!
Here’s our recipe for sour cream pancakes, plus our secret tips to getting them perfect the first time.
Why Add Sour Cream To Pancakes?
In case you’re wondering why on earth you’d put sour cream in pancakes, there are actually several reasons why this one ingredient can level up your pancake mix.
If you’ve ever tried buttermilk pancakes, sour cream pancakes are pretty similar.
The sour cream makes the pancakes lighter and fluffier, and the acidity creates a batter that just melts in your mouth once it’s cooked.
So, basically, if you want your pancakes to be golden-brown on the outside and moist on the inside, sour cream is the secret ingredient you need to start using(see also: Dad’s Secret (& Most Yummy) Pumpkin Ice Cream).
Sour Cream Pancakes Recipe
Ingredients
- All-purpose flour (1 ½ cups)
- Granulated sugar (¼ cup)
- Sour cream (½ cup)
- Eggs (2)
- Vanilla extract (1 tsp)
- Baking powder (2 tsp)
- Salt (1 tsp)
- Milk (1 cup)
The Process
- Combine your wet ingredients (eggs, milk, vanilla extract, sour cream) and sugar in a bowl and whisk until they have combined fully. You might notice some sour cream lumps, but as long as they are small, this isn’t something to worry about.
- Next, add the rest of your dry ingredients (flour, salt, and baking powder). Mix well so that the flour disappears into the wet ingredients, but don’t overdo it. It’s normal for the batter to be quite lumpy at this point, so don’t be tempted to over-mix while trying to fix this.
- Get a non-stick pan and melt a small amount of butter (roughly a teaspoon) until it starts to bubble.
- Using a ladle, spoon some batter into the hot pan. You should be able to make up to 4 pancakes in a single pan if you’re using a large skillet, but if not, you might have to do 2 at a time.
- Wait until you see bubbles forming on the surface of the pancake before flipping the pancake over. When you flip the pancake, it should be golden brown on the side that was cooking.
- Cook on the other side for a minute or 2 before removing each pancake from the pan.
- Before putting any more batter into your pan, make sure to wipe away the residual butter and replace it with fresh butter. Take care not to burn your fingers in the process.
Nutritional Information
The following information is for a single serving, which equals roughly one pancake.
Bear in mind that nutritional information is likely to change if you substitute ingredients.
- Energy (kcal): 113
- Carbohydrates: 17 g
- Sugar: 5 g
- Fat: 3 g
- Saturated fat: 1 g
- Protein: 3 g
- Calcium: 71 mg
- Sodium: 222 mg
- Cholesterol: 36 mg
- Iron: 0.9 mg
- Vitamin C: 0.1 mg
- Vitamin A: 145 IU
- Potassium: 138 mg
Tips For The Best Sour Cream Pancakes
1. Use A Non-Stick Pan
This goes for any kind of pancake, whether you’re using sour cream or not.
You should always use a non-stick pan (ideally a skillet) because no matter how well you grease your pan, your pancakes are likely to get stuck unless the surface is non-stick.
There’s nothing more frustrating than carefully weighing up your pancake batter ingredients, only for your pancake to get caught and break mid-flip.
2. Don’t Flip Too Early (Or Too Late)
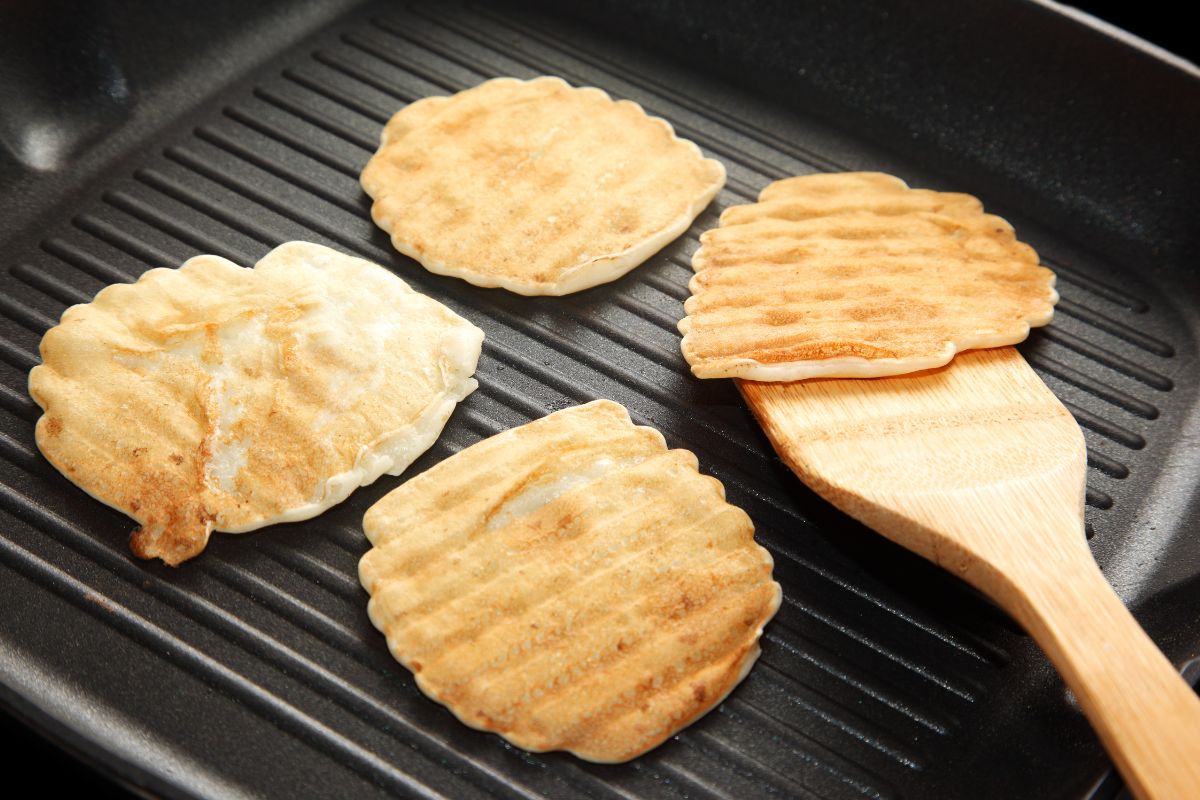
Speaking of flipping, it’s important to wait for the right moment to flip your sour cream pancakes.
If you flip too early, the batter may not be cooked enough, and the pancake could fall apart.
However, if you wait too long, you could end up with a burnt pancake, and nobody wants that.
The best time to flip these sour cream pancakes is when you notice bubbles starting to form and burst on the surface. You should also look out for browning around the edges, as well as firming.
3. Wipe Excess Butter Away Between Pancakes
When you’ve finished cooking one pancake, you may notice some browned butter in the pan.
Wipe this away before starting another pancake to avoid burning and sticking. Besides, pancakes cooked in fresh butter will taste much better.
Serving Suggestions For Sour Cream Pancakes
You can serve these sour cream pancakes with anything you like, although our go-to is maple syrup.
If you’d like to increase your micronutrient consumption while indulging in some pancakes, there’s always the option of loading them up with fruit, but the classic lemon and sugar combination works really well, as does chocolate or caramel sauce.
Buttermilk syrup is another favorite serving suggestion of ours for sour cream pancakes.
Frequently Asked Questions
If you don’t have any sour cream, you can also use yogurt. However, this might yield different results depending on the type of yogurt you use.
Greek yogurt tends to work well because the consistency is similar to sour cream.
You won’t get as much moisture from yogurt, but the pancakes should still be fairly fluffy and light. You could also use whole milk yogurt.
Yes, you can freeze these pancakes to keep them for longer without risking them going stale.
Let the pancakes cool down first, and then place them in a freezer bag, separating layers of pancakes with some waxed baking parchment.
When you take the pancakes out of the freezer, put them in the microwave to warm them out without having to let them thaw.
Then, you can put them in the oven at around 225 degrees Fahrenheit until they are warmed through, or just use a toaster oven for the same results.
We recommend full-fat sour cream for this recipe because the fat in the cream adds to the moisture in the batter, which is the secret to fluffy, melt-in-the-mouth pancakes.
With that being said, the main reason why sour cream works so well in pancakes is because it’s acidic, and this is true of both full-fat and reduced-fat sour cream.
If you only have low-fat sour cream, or want to keep the calories in this recipe to a minimum, feel free to use reduced-fat cream instead.
Final Thoughts
Making sour cream pancakes takes just a few minutes, and the results are incredible.
The acidity of the sour cream along with the extra fat makes for moist, fluffy pancakes that melt in your mouth and taste extra rich.
You can also use reduced-fat sour cream or Greek yogurt instead of full-fat sour cream, and you could also make a few easy substitutions to make these pancakes gluten-free.
Remember to wait for the pancakes to start to bubble and develop firm edges before you flip them, and if you need to freeze your pancakes after cooking, let them cool down and separate them with waxed paper first.
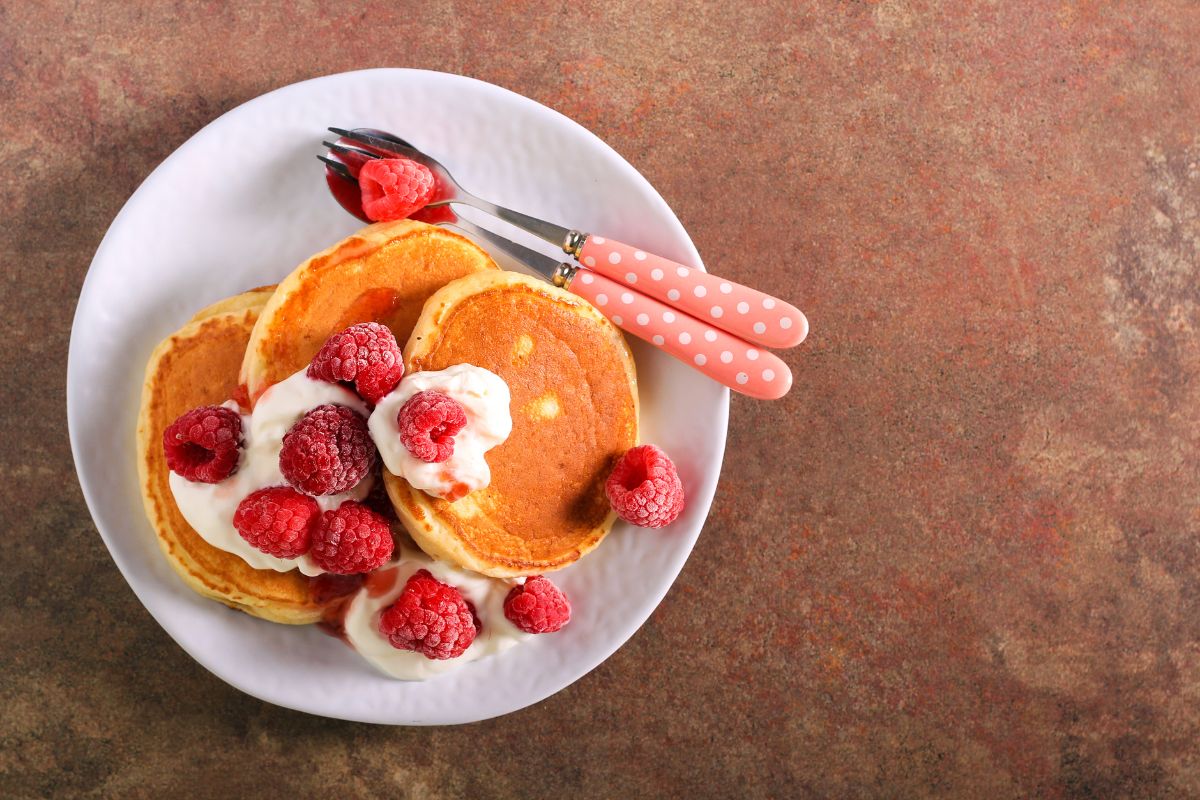
Sour Cream Pancakes
Ingredients
- 1 ½ cups All-purpose flour
- ¼ cup Granulated sugar
- ½ cup Sour cream
- 2 Eggs
- 1 tsp Vanilla extract
- 2 tsp Baking powder
- 1 tsp Salt
- 1 cup Milk
Instructions
- Combine your wet ingredients (eggs, milk, vanilla extract, sour cream) and sugar in a bowl and whisk until they have combined fully. You might notice some sour cream lumps, but as long as they are small, this isn’t something to worry about.
- Next, add the rest of your dry ingredients (flour, salt, and baking powder). Mix well so that the flour disappears into the wet ingredients, but don’t overdo it. It’s normal for the batter to be quite lumpy at this point, so don’t be tempted to over-mix while trying to fix this.
- Get a non-stick pan and melt a small amount of butter (roughly a teaspoon) until it starts to bubble.
- Using a ladle, spoon some batter into the hot pan. You should be able to make up to 4 pancakes in a single pan if you’re using a large skillet, but if not, you might have to do 2 at a time.
- Wait until you see bubbles forming on the surface of the pancake before flipping the pancake over. When you flip the pancake, it should be golden brown on the side that was cooking.
- Cook on the other side for a minute or 2 before removing each pancake from the pan.
- Before putting any more batter into your pan, make sure to wipe away the residual butter and replace it with fresh butter. Take care not to burn your fingers in the process.
- Exploring the Health Benefits of Maca Coffee - January 26, 2024
- Top 5 Vegan Gluten Free Recipes That Are Absolutely Delicious - June 20, 2023
- Vegan No Bake Cheesecake - June 20, 2023

